
How to Install Roof Shingles: A Comprehensive DIY Guide
An excellent roofing team can help with professional installation, but many homeowners choose to install shingles themselves. This guide walks you through the complete process of installing roof shingles from start to finish. You'll learn how to prepare your workspace, inspect your roof, plan the layout, install shingles correctly, and finish the job properly. These steps help you create a strong, long-lasting roof that protects your home for years to come.
Roof Shingles Installation Preparation
Get all your tools and materials ready before you start installing shingles. You'll need a roofing hammer, utility knife, nail gun, ladder, chalk line, and safety gear like gloves and goggles. Make sure you have the right type and amount of shingles, plus roofing nails and adhesive. Check that your roof deck is in good shape and fix any damage first. Sort your shingles by size and type so you can reach them easily during installation. Remove any old shingles, underlayment, or debris from the roof. Good preparation makes the whole installation process go much smoother.
Roof Surface Inspection and Repair
Carefully look over your roof surface for damage or wear before starting any work. Check for missing, cracked, or curling shingles that show potential problems. Look for dark spots or algae growth that might mean trapped moisture. Watch for sagging areas that could indicate structural issues. Check the flashing around chimneys, vents, and skylights for rust or gaps that might cause leaks. Clear away debris like leaves and branches that can hold moisture and cause faster deterioration. Fix any problems right away to prevent more damage and create a solid base for your new shingles.
Shingle Layout and Starter Course
Plan your shingle layout and starter course carefully to create a proper foundation for installation.
Make sure the starter course hangs over the eaves by about 1/4 to 3/4 inch
Use chalk lines to keep everything straight and look good
Put starter shingles with the sealant strip facing up to stop wind-driven rain from getting underneath
These steps are important because they set up the rest of your shingle installation. Paying attention to details during layout and starter course work makes your roof look better and last longer. Taking time to do this right helps your roof work well and stay strong for many years.
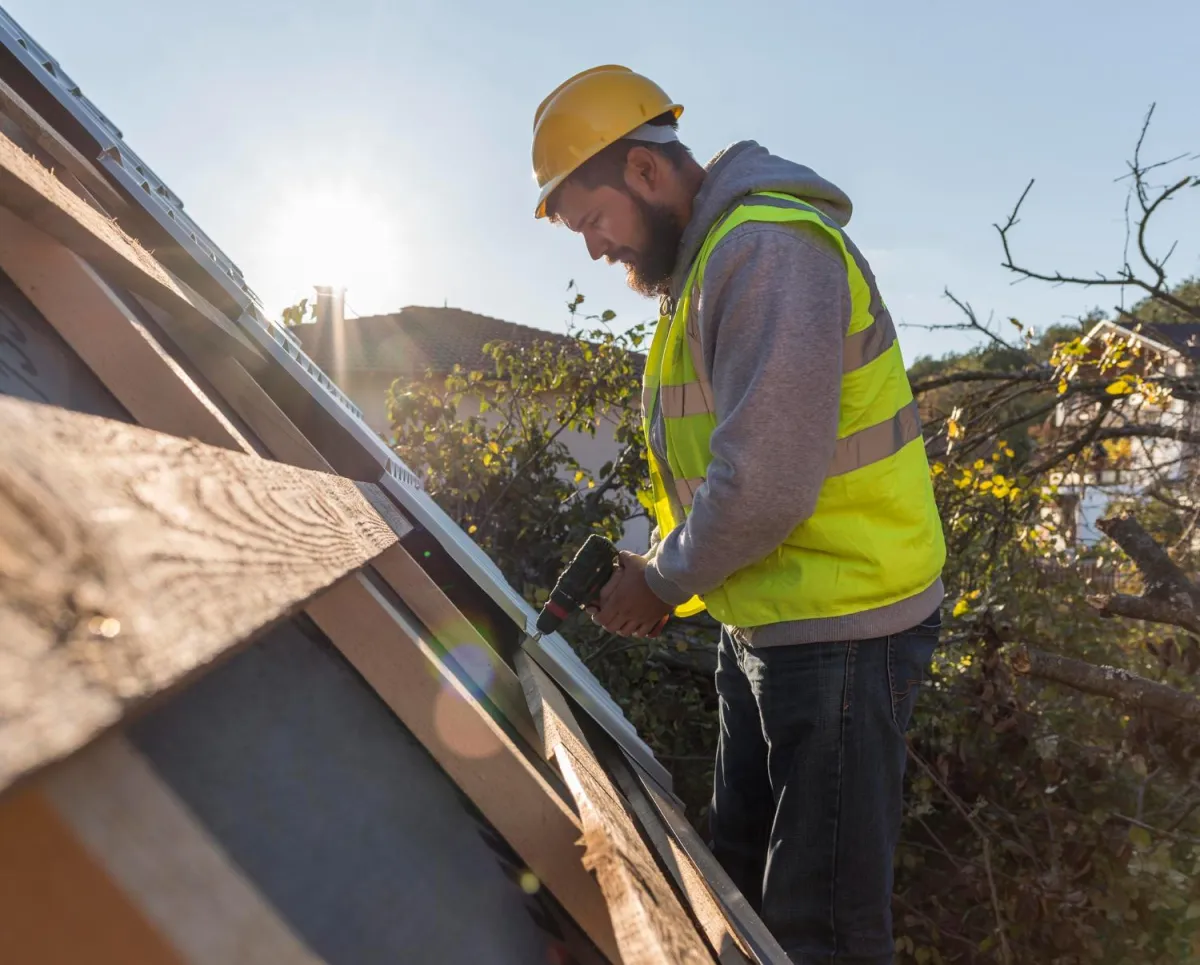
Shingle Installation Techniques
Make sure each shingle lines up properly and attaches securely to your roof using the right installation methods. Start by nailing shingles in the marked areas, keeping them straight and lined up with the roof edge. Overlap shingles about 6 inches, as the manufacturer suggests, to keep water out. Use a chalk line to keep edges straight and avoid uneven spacing. Add extra nails at corners and edges to prevent wind damage. Stagger the shingle joints to make your roof stronger. Put roofing cement under each shingle tab for extra security. Following these exact steps gives you a professional installation that lasts a long time.
Finishing Touches and Maintenance
Complete your roof project with important finishing work and plan for regular upkeep to keep your roof in great shape.
Inspect Regularly: Check your roof often to find loose, damaged, or missing shingles that need quick fixes
Clean Gutters: Keep gutters clear of debris so water doesn't back up under shingles and cause damage
Trim Overhanging Branches: Cut tree branches near your roof to prevent scraping or falling damage to your shingles
Related Topics:
Our Team

John Doe

John Doe

John Doe

John Doe
Office:
North Carolina
Call:
(704) 769-2468
Email:


